



DrawWorks Revealed
Aaron Timbrell looks at DrawWorks new Millennium.
DrawWorks is a suite of graphics applications from iSV Products, and is available in a number of versions. The basic copy of DrawWorks (DrawWorksSE) is supplied in the software directory of this copy of RISC World. The standard version of DrawWorks is DrawWorks Millennium (DWM) and is supplied on a CD with fonts, clip art and many other resources. The latest version launched at Wakefield 2000 is called DrawWorks New Millennium (DWNM) and offers even more features, as well as weighing in at almost 600MB in size!
Any version of DrawWorks is a very powerful package that can produce amazing effects, but only if you know how to use it! The key to any version of DrawWorks is to experiment and see what happens. This article will give you some ”tricks• that can be used to produce effects simply and quickly. All of these ”tricks• and effects are designed for use with the latest version of DrawWorks, (DWNM), although they may well work on earlier versions.
Colour Balance
DrawWorks can alter the colour of both vector and bitmap objects in a great many ways. For example the RGB Balance Tool can increase or decrease the red, green or blue parts of an image.
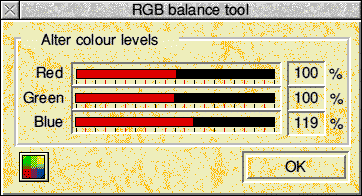
Suppose we wanted to alter the left hand photograph so that the sky was blue. This can easily be done using on of the two DrawWorks Colour balance tools.
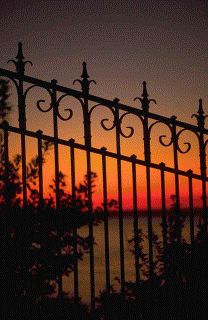
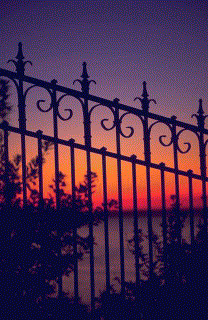
As you can see the result of adding extra blue to the image alters the colour of the sky.
Altering Soft Shadows
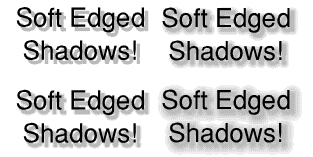
DrawWorks New Millennium has a soft edged shadow tool that produces realistic shadows without hard edges. The softness of the shadows edge is fixed by the program, or is it?
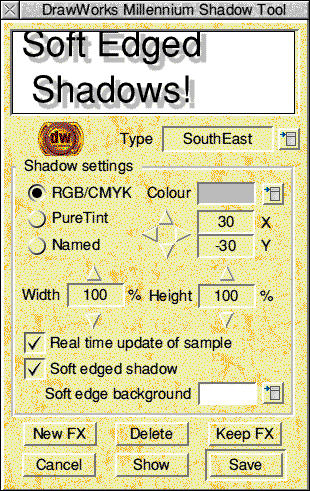

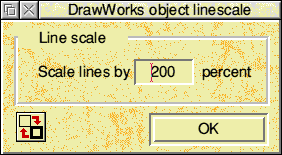
Once you have an object with a shadow you can now make the shadow softer. Simply select the parts of the object that make up the shadow. The easiest way to do this is to select then entire object then click ADJUST on the text part to de-select it. Now click on the linescale tool. Setting the scale to 200% and then clicking on the ”OK• button will soften the shadow.
Making an ”Oil• Painting
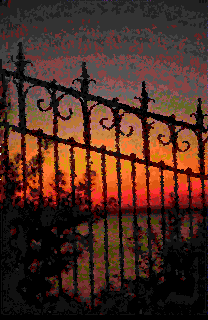
Using DrawWorks it is possible to make a painting from an image. In the example shown below the original photograph has been turned into a 256 colour version (using the DrawWorks Sprite exporter) and reloaded.
The new 256 colour version has then been Traced using the !Trace tool on the DWNM special toolbar. The resulting drawfile has then been loaded back into !Draw and had the line widths set to 4mm and the line joins set to round.

I would recommend a StrongARM or Kinetic processor for this sort of effect!
Around we go
DrawWorks offers almost unrivalled abilities when it comes to manipulating text as can be sen from the logo below. This includes a number of effects including wrapping text around a sphere, bending text around a circle as well as two different types of shading.

So how was this logo produced? You may be surprised to find out that even the most basic version of DrawWorks (DrawWorks SE on this issues CD) can produce some of these effects. The basic shading principle involves the use of the DrawWorks ”Merge paths• tool to produce stencils which can be applied over graded objects to produce complex shading. Both the 3D text in the centre and the shaded text around the edge was produced in this way.
Sphere we go again
The design below is actually quite easy to construct and we will start with the sphere in the center. Firstly the line of text was typed in the !Draw window. A number of copies of this were then produced using the step and repeat tool.
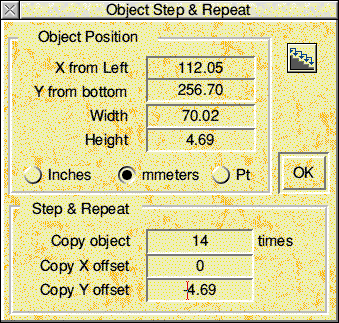
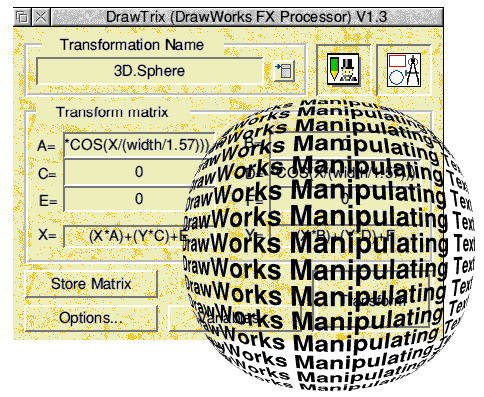
This results in a block of text which can then be selected and then manipulated using the DrawTrix tool. To convert the text to a sphere the option ”3D.Sphere• can be chosen from the ”Effects• menu. Clicking on the ”Transform• button will then convert the original block of text into a sphere shape. This new object can then be dragged from DrawTrix back into the original !Draw window.
Having produced the sphere it now needs to be turned into a stencil. Drawing a circle around the sphere and then selecting both circle and sphere and clicking on the ”Merge Paths• tool results in this.
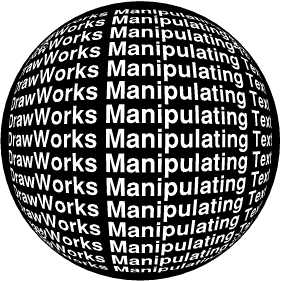
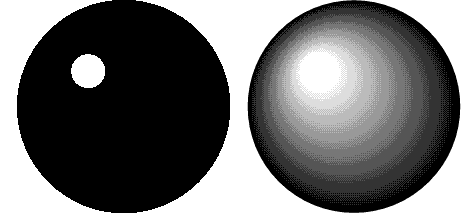
It may look like white text on a black background, but it is not. The white text is actually transparent. So a shaded object can be placed behind and the white parts will then become shaded. So now a shaded sphere is required. To produce this a large black circle is drawn, then a small white one. Both are selected and have their line colours set to none. Then they can be graded using at least 64 steps.
Placing the graded object behind the sphere with the text results in a black object with grey shaded text. However in the original design only the text shows. This is easy to achieve. Simply select the object containing the text (its currently black) and change its fill colour to white. You can see the result of doing this in the illustration below. Altering the colours of the shading using a DrawWorks tool will then alter the colour of the text.
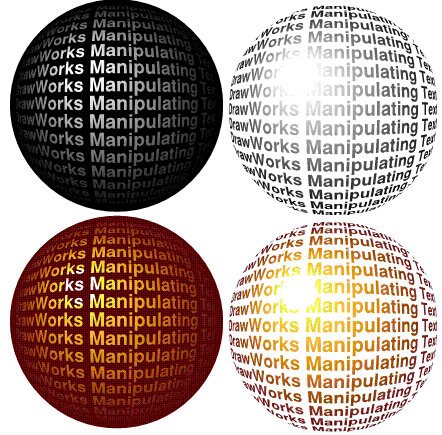
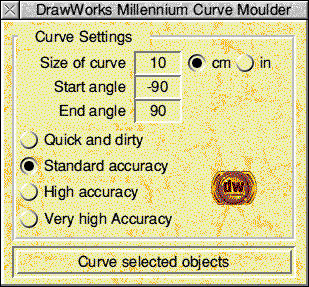
Having produced the shaded text for the center of the design we can now make the text that goes around the outside. This is produced using the path curving tool.
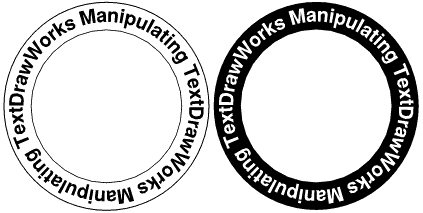
Having produced two sections of text, one for the bottom and one for the top two circles are then drawn around the text objects and the entire set of objects are merged to make a stencil.
Now shading is needed for this text. This is produced using two circles with a different line width. The black circle has a line width of 24mm, and the white one of 1mm.
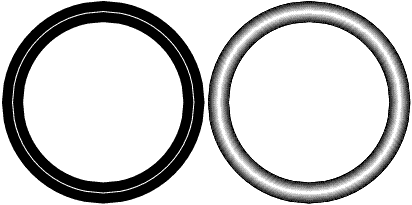
When they are graded they produce a shaded circle which can be placed behind the stencil made earlier.
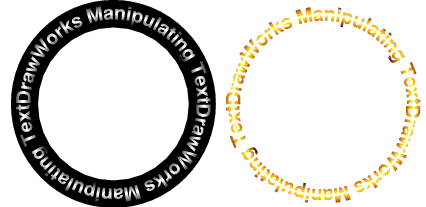
As can be seen from the picture above we now have the text that goes around the outside. However in the original version this text has a black border and now this needs to be added. This is done using a copy of the bits of text that go round the circle and simply setting the fill colour to none and the line colour to black. The line width is then set to 1mm. Then both this object and the shaded text can be selected then grouped to ”Centre• and ”Middle• using the DrawWorks Justify tool.
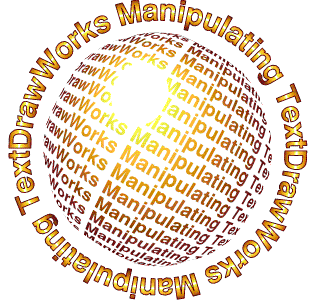
This now only leave us with the text that wraps around the sphere in the other direction. This is produced using the DrawTrix tool and the ”3D.Cylinder• effect.

Having made this next piece of text it now needs to be filled white and have a black outline applied. This is best done using the DrawWorks Lining Tool. Using the ”BigBorder• effect with the middle line width set to 2mm produces the right sort of result.
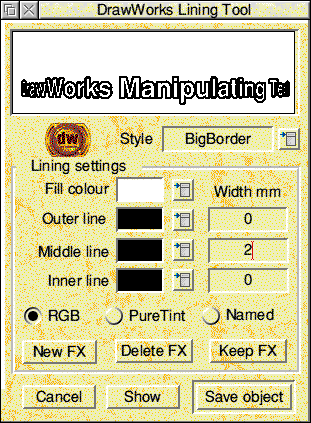
The final thing to do is add a drop shadow behind the final piece of text. All the objects can then be assembled to produce the final image.

Colour me good
Having got a finished image the DrawWorks colour processing tools can be used to alter it. For example the ”Tinting tool• can be used to produce a washed out watermark effect by tinting the object towards white.
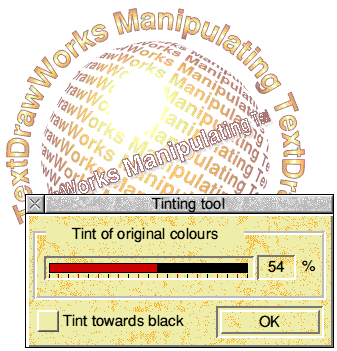
The complete object can be colour processed in a number of other ways, for example the ”Object Tinting Tool• can be used to tint the entire object a particular colour. Any of the built in PureTint or Named colours can be used.
You could even use an overtint of a colour such as Cyan (e.g. Cyan + 50%) to produce a duotone using just Cyan and Black. This could then be colour separated. Alternatively any named spot colour could be used instead.
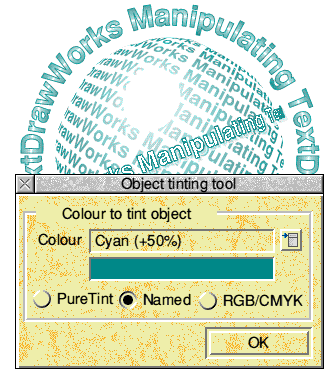
Of course if you had the inclination you could go quite mad with the design and experiment with the DrawWorks colour handling for hours.
The end bit
That‘s it for this article. Would you like more on how to use DrawWorks? If so then why not contact RISC World.Aaron Timbrell