


Canvas effects in ArtWorks
Richard Ashbery shows how you can create a photograph on a canvas effect background.
Introduction
I've always been interested in the way photography can be combined in illustration packages. Xara is well provided for in this area but some of the techniques can be quite easily adapted for ArtWorks users.
Making a Photograph on Canvas
Overlaying a simple graphic matrix over a photograph can produce an effective image which to all purposes looks as though its been printed on canvas. This tutorial starts by creating a simple cross pattern which can be cloned, rotated and linked to eventually form a weave. Figure 8 shows the final result.
Drawing the Cross
- Drag out a rectangle with rough dimensions of 100 pixels height and 50 pixels width. Pixels can be set in Global choices from the ArtWorks iconbar icon.
- Click on the Resizer tool and with Lock switched off, set height to 100 pixels and width to 50 pixels.
- Set its colour to 50% black and outline colour to None.
- Clone the rectangle.
- Repeat step 2 - this time setting the width to 15 pixels.
- Set its colour to 10% black.
- Select and Control-drag the thin rectangle to the left as shown in figure 1.
- Use the blend tool with the default setting in the direction shown by red arrow.
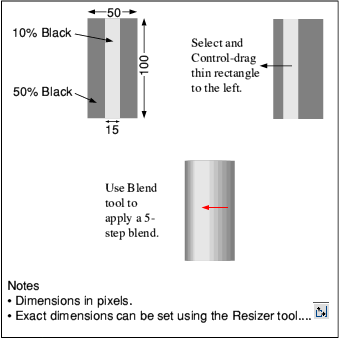
Fig 1
Building the Simple Pattern
- Clone the blended rectangle and rotate though 270° to form a cross as shown in figure 2.
- Clone the combination again and CTRL-drag to the right.
- Select the horizontal element of the clone and press CTRL-B to place it at the back of the stack.
- You should now have two crosses - A and B. Select and group each object pair.
- Clone and drag cross A and B to form the basic woven pattern as shown.
- The bottom illustration shows that the pattern consists of identical crosses arranged diagonally.
- You may observe small rendering inaccuracies (fine black lines) where the crosses join - this in no way affects the final matrix and can be ignored.
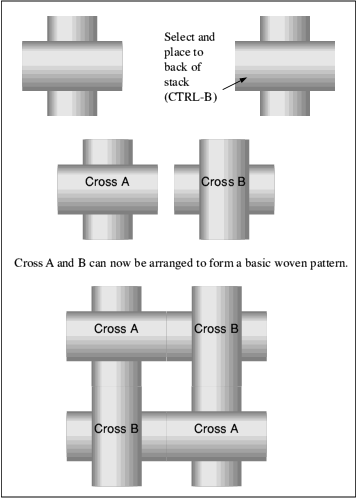
Fig 2
Constructing the Matrix
- Clone the basic weave pattern twice dragging each clone to the right and abutting with its neighbour to form a row as shown in figure 3. I always use a high magnification and the outlines only option (CTRL-Shift-F8) in order to speed up the operation. The arrow keys can be used for precise positioning.
- Select the row and group it.
- Clone the row again and drag below the first row. Align. Group all.
- Repeat until the page is full (figure 4).
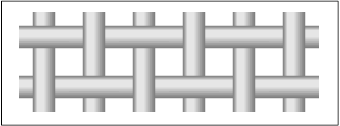
Fig 3
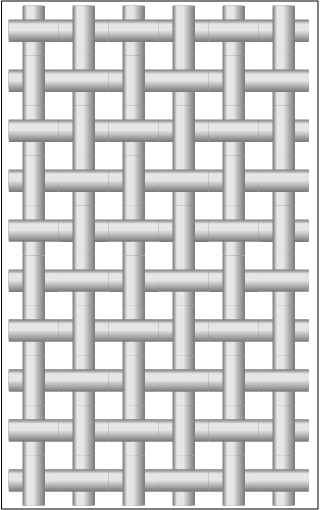
Fig 4
Enlarging the Canvas Matrix
As it stands the weave in figure 4 is not fine enough. If we resize it now it will become so small that it wouldn't cover a photograph to produce the required effect. So we must apply a combination of making the matrix cover a larger area and gradually reduce its size. This sounds contradictory but let me try and explain by example.
- Reduce the size of the matrix, figure 4 by 25%. Drag it to the top-left-hand corner of the page.
- Clone the matrix and abut to the right-hand edge of its neighbour to start a new row.
- Repeat until 3 clones have been abutted (figure 5).
- Group all.
- Clone the new row and drag and align below its neighbour. Repeat until the page is again filled (figure 6).
- Group all and save the file in case you need to return to it in future.
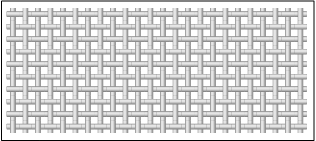
Fig 5
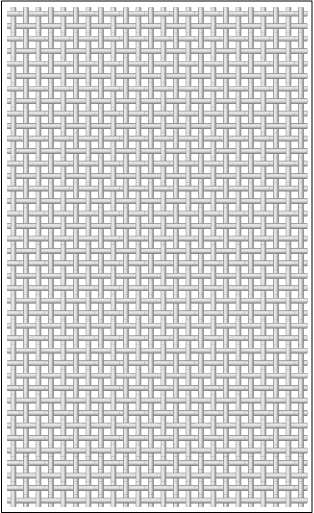
Fig 6
Converting the Matrix to a Sprite
This procedure could be repeated but eventually you reach a point where the matrix is so large that blend rendering times severely slow the machine down. By converting the matrix to a sprite - a further reduction in weave size and re-cloning at normal processing speeds can be achieved. ArtWorks sprite format also allows us to use a background mask to permit the photograph to appear through the gaps.
- Select the matrix and press CTRL-Shift-E to open the export bitmap window. Click on Selection and Masked background. Drag the sprite to your working directory.
- Click on the AW iconbar icon to display a new document.
- Load the sprite you saved above.
- Reduce its size by 50% and drag it to the top-left-hand side of the page.
- Clone it. CTRL-drag the cloned section to the right and align edges with its neighbour.
- Group and re-clone. CTRL-drag clone below and align edges.
- Finally group all four matrix sections.
- Use the alignment tool to centre the final matrix to the centre of the page.
- The final matrix will look identical to figure 6 but four times the size. The individual weave elements will appear much smaller.
Overlaying the Weave Matrix on a Photograph
First we need to check the size of the matrix and then crop the photograph to match.
- Press Shift-F1 for Group information. Take note of the Width and Height parameters ignoring the decimal part.
- Load a photograph into the document after checking the size does not exceed the Width and Height parameters above. Use Photodesk's size tool to achieve this - to prevent distortion of the photograph always ensure that maintain current aspect ratio is turned on.
- Crop the matrix to exactly the same size as the photograph. The next few steps shows you how this is achieved with ArtWorks ClipView facility.
- Drag a rectangle roughly the same size as the photograph over the sprite matrix.
- Use the Resizer tool to enter the precise dimensions of the photograph.
- Align the rectangle and matrix to centre.
- Apply a fill colour and outline of None (ensuring the rectangle is selected click Select button over None and Adjust button over None).
- With only the rectangle selected, place the rectangle to the back of the stack by pressing CTL-B.
- Press CTRL-C to copy rectangle to the clipboard.
- Adjust-click on the matrix.
- Press CTRL-Shift-K to crop matrix to the rectangle.
- Now drag the photograph into the AW document and use the alignment tool to centre with the matrix.
- Press CTRL-B to 'force' the photograph behind the weave matrix. Figure 7 shows the result.
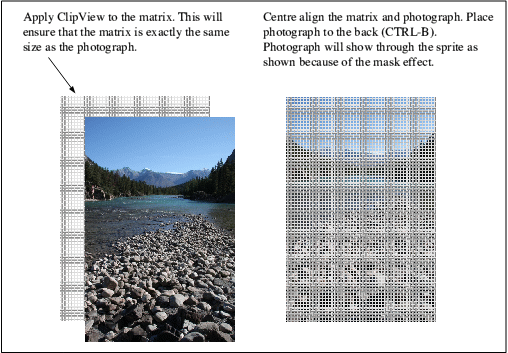
Fig 7
Final Touches
All that remains is too blend the weave into the photograph by simply applying transparency.
- Select the matrix (do not select photograph).
- Click on Crystal tool.
- Select Transparency......... Mix.
- Simply adjust the transparency slider over to the right to make the matrix fade into the photograph. A typical figure will be 70-85% depending on the photograph contrast/brightness. Finish the picture with an attractive border and the jobs done.
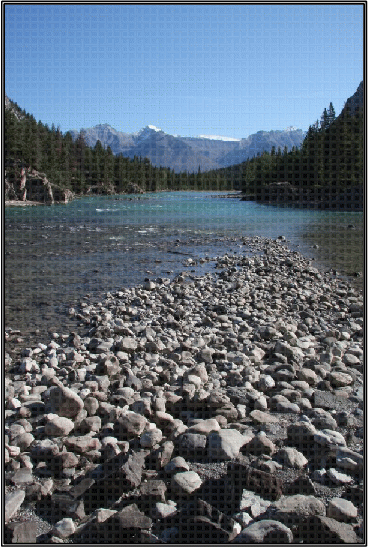
Fig 8 Final picture
Richard Ashbery